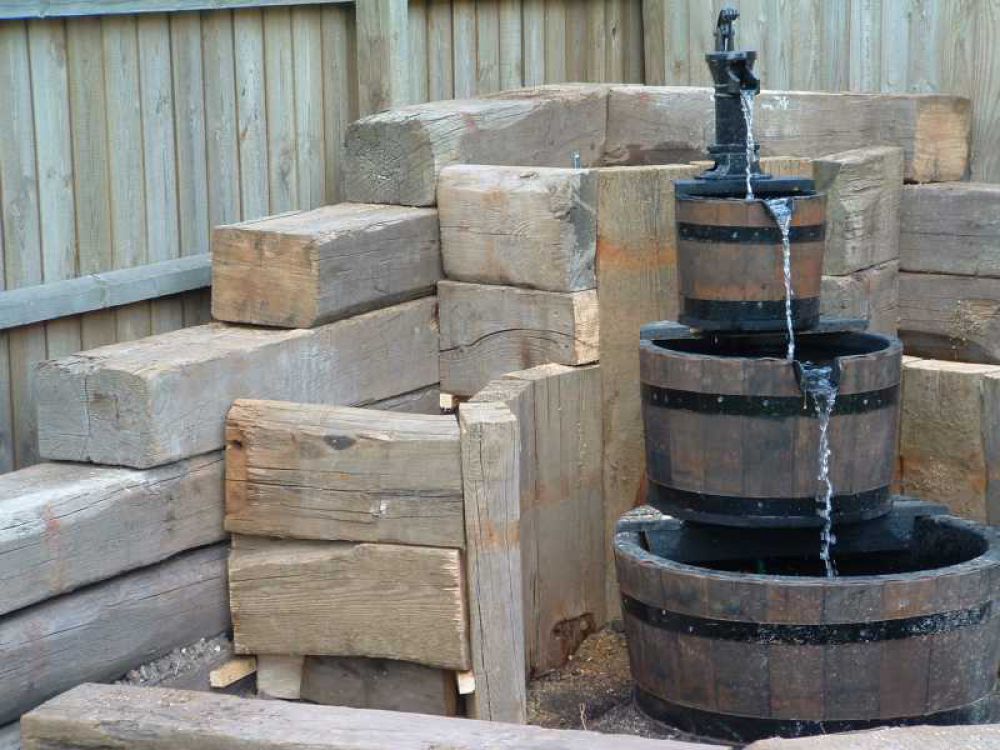
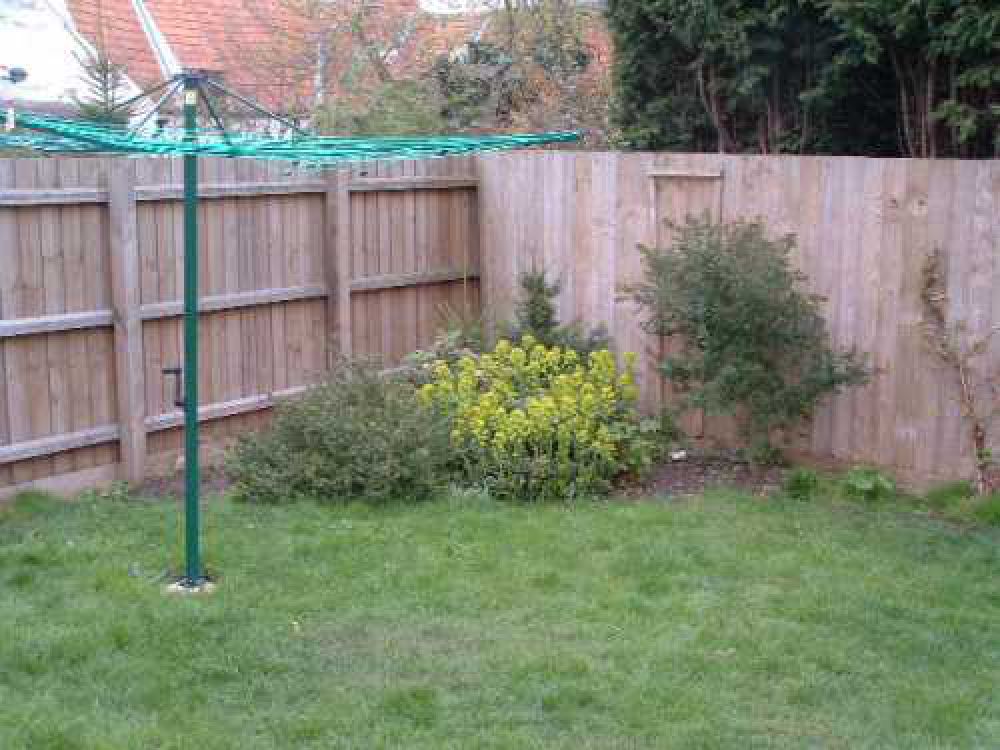
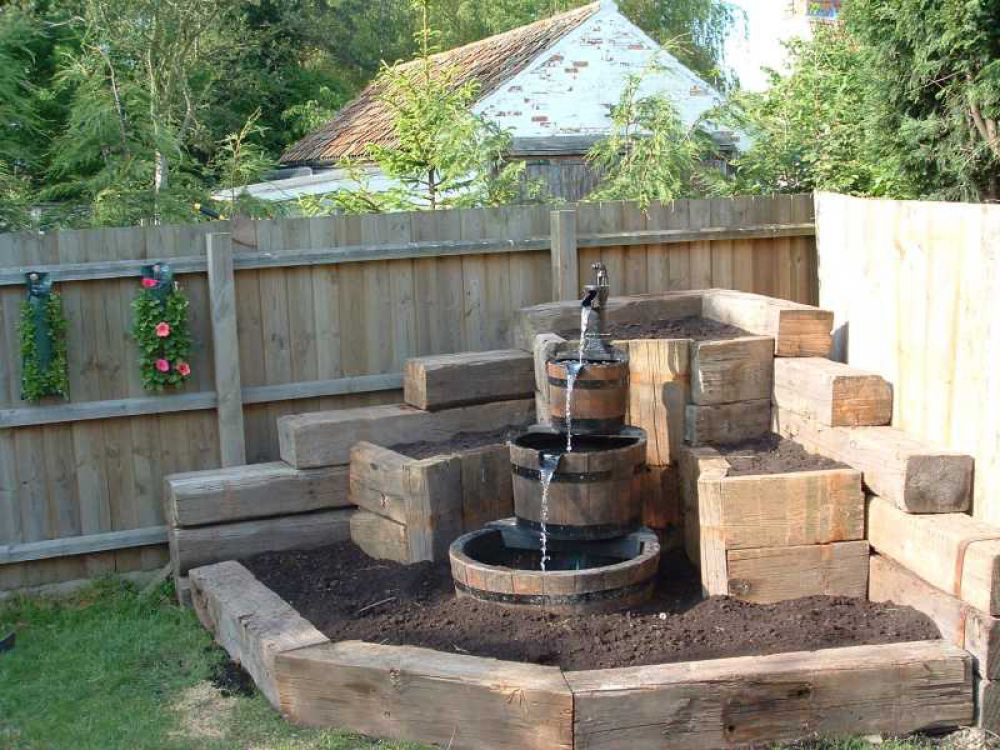
Sorry about the delay in sending these in but it took longer than expected. First I had to wait for the chains on the saw to be sharpened and then some bad weather hit. When it finally got better I had to get stuck into laying paving stones. I finally got back to the railway sleepers a couple of weeks ago and finished up.....So, here it is! I want to send one more picture later in the summer after the plants have grown and are in bloom. Yeah, I know it looks homemade but so it is! We really like it as do most of our friends.
Things to mention: - Remember working with railway sleepers and a chain saw isn't exactly like working with normal wood and a miter box…In other words cutting angles and even lengths are very inexact and at best an estimation so plan on it - I cut some of the railway sleepers in half length wise…this really dulls the cutting chain fast! At the beginning I was cut straight down from one end to the other, in the end I found it was much better to cut about an inch deep down the entire length then go back an cut another inch.
Phil
RAILWAY SLEEPERS USED:
New Oak railway sleepers
RailwaySleepers.com Says..
It's great to get a project using railway sleepers that is as creative and original as yours. It looks brilliant, and will mature excellently as you plant up the area. Sure, it's 'home-made', but that's the whole idea. I remember months ago when you first visited the yard, with your cutting list and cardboard 'mock-up', and squeezed each piece into the back of the car... and look now! Thanks for the words of advice. It makes things easier for those working with railway sleepers following in your footsteps.


